Sanding Screen vs. Sand Paper
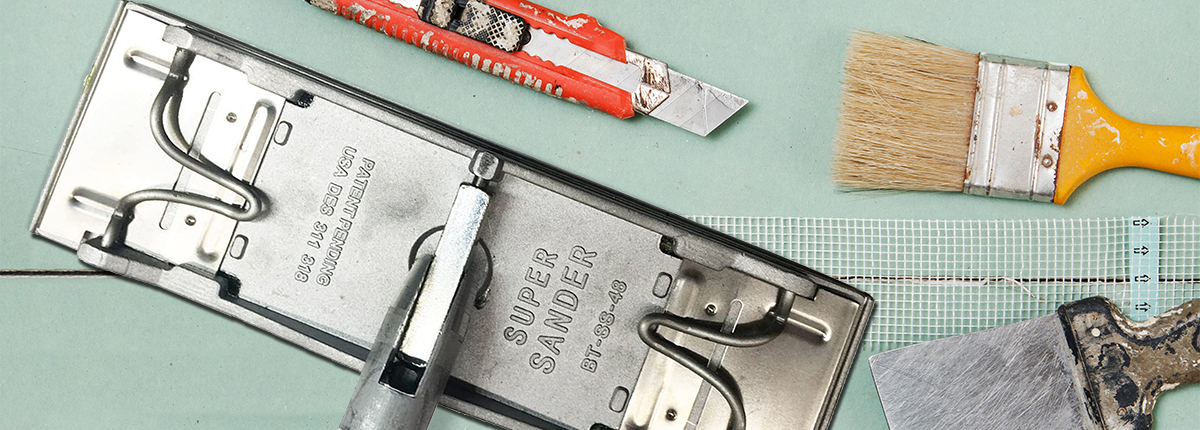
A sanding screen is essentially a mesh with an abrasive coating. The holes between the meshes eliminate the clogging of dust particles. This works very well with some of the newest designs with a dust collection port on to which you can attach your shop vacuum.
The screen is coated with silicon carbide all around. So when one side of the sanding screen gets dull you can flip over and use the other side.
- Use a push-pull stroke with a pole sander. Your arms may turn to rubber, but using a pole sander is faster and easier than working a hand sander from a ladder.
- Pole sanders are more difficult to control; use either the push-pull motion or a side-to-side sweeping motion.
- Twist the handle to control a ball joint on the sanding head that will shift the movement of the head and allow the sander to both switch directions and turn around the inside corners where seams meet.
- Turn the head of the pole sander wider to work across seams or narrower to sand along fastener strips.
- Confine hand and pole sanders to the “field” of a wall or ceiling. If you work too close to inside corners, these tools may slam into adjacent walls, denting or gouging the finish.
- The pole sander, with its ball joint in the sander head, is prone to flip over (“jackknife”) and cause damage.
- Avoid Scuffing the Drywall.
- Carefully sand the transition edge between the taped seams/strips and the bare drywall to avoid scuffing the drywall’s paper face. Avoid scuffing or chafing the paper surface of the drywall because those flaws may be visible after painting. The edges of all seams and fastener strips should look soft and smooth after they’re sanded.
Sandpaper Grit Charts and Information
Sanding can make all the difference in a drywall project. Sanding can be done by hand as well as in tandem with power tools such as electric sanders to create the best finishes. Sanding by hand works well for finishing and giving surfaces a lighter touch, while sanding with power tools helps to take off material at afaster rate.
Sandpaper for power sanding is sold in sheets, belts and discs. Regardless of which route your application requires you to take—hand-sanding or power-sanding—knowing the differences between the types of sandpaper is key to completing a sanding application. Choose accordingly with our sandpaper grit chart and by following the nuances in grades and material.
What does the grit number on sandpaper mean?
The grit of sandpaper is a rating of the size of abrasive materials on the sandpaper. The higher the grit the finer the abrasion, which creates a smoother finish. Lower grit represents coarser abrasives that take off material much faster. In the chart below, grit size is measured with both the CAMI (Coated Abrasives Manufacturing Institute) and FEPA (Federation of European Producers of Abrasives) standards.
Micro Grit Sandpaper
Micro grits are a class of finer abrasives. They include higher grit numbers. Micro grit-sized sandpapers are commonly used on wood and some on drywall.
| Type | Description | CAMI | FEPA | Diameter | Used For |
|---|---|---|---|---|---|
| Ultra Fine | Most delicate abrasives | 800-1,000 | P1,500, P2,000, P2,500 | 8.4-12.6 micrometers | Final sanding and polishing thick finishes |
| Super Fine | Slightly wipes away patches/small inconsistencies but not strong enough for removal | 400-600 | P800, P1000, or P1200 | 15.3 to 23.0 micrometers | Final wood finishing |
| Extra Fine | Slightly less fine and more abrasive than Super Fine | 360 or 320 | P400, P500, or P600 | 25.8 to 36.0 micrometers | Initiative methods for wood polishing |
| Very Fine | The least fine of the micro abrasives | 240 | P240, P280 or P320 | 40.5 to 58.5 micrometers | Sanding finishes between consecutive coats and drywall and wood |
Macro Grit Sandpaper
Macro grits are a class of abrasives that range from medium to coarse sandpaper calibers, with medium to low grit.
| Type | Description | CAMI | FEPA | Diameter | Used For |
|---|---|---|---|---|---|
| Very Fine | A coarser material than Very Fine under the micro abrasives | 80 | P60 or P80 | 190 to 265 micrometers | Sanding on bare wood |
| Fine | Cannot remove varnish or paint on wood | 100 or 120 | P100, P120 | 115 to 162 micrometers | Preparing wood for finishing, cleaning plaster and removing water stains on wood |
| Medium | Medium to coarse surface texture after sanding | 80 | P60, or P80 | 190 to 265 micrometers | Sanding bare wood to prepare it for removing varnish and final finishing |
| Coarse | Has the ability to remove material rapidly | 40, 50 or 60 | P40 or P50 | 336 to 425 micrometers | Wiping away a layer of debris or finish with minimal effort |
| Extra Coarse | Quickens the removal of most materials rapidly | 24, 30 or 36 | P30, P36, P16 or P12 | 530 to 1,815 micrometers | Initial efforts in hardwood floor sanding |
More Facts on Sandpaper Types
Besides the grits and grades, sandpaper is made out of materials that vary chemically. It can be made from the grains of a natural mineral called garnet, or from synthetic ones like aluminum oxide, alumina-zirconia or silicone carbide. Irrespective of the sandpaper you work with, it must have a strong bond between the sandpaper grit and its backing material. If it doesn’t, the grit and backing material may become separated during use, ruining your application. Backing for sandpaper includes paper, cotton, polyester, rayon, PET film and rubber. Mylar is used as backing for extremely fine grits.
